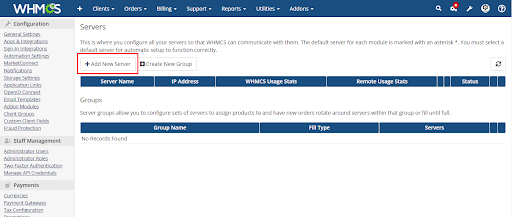
Navigate to Server:
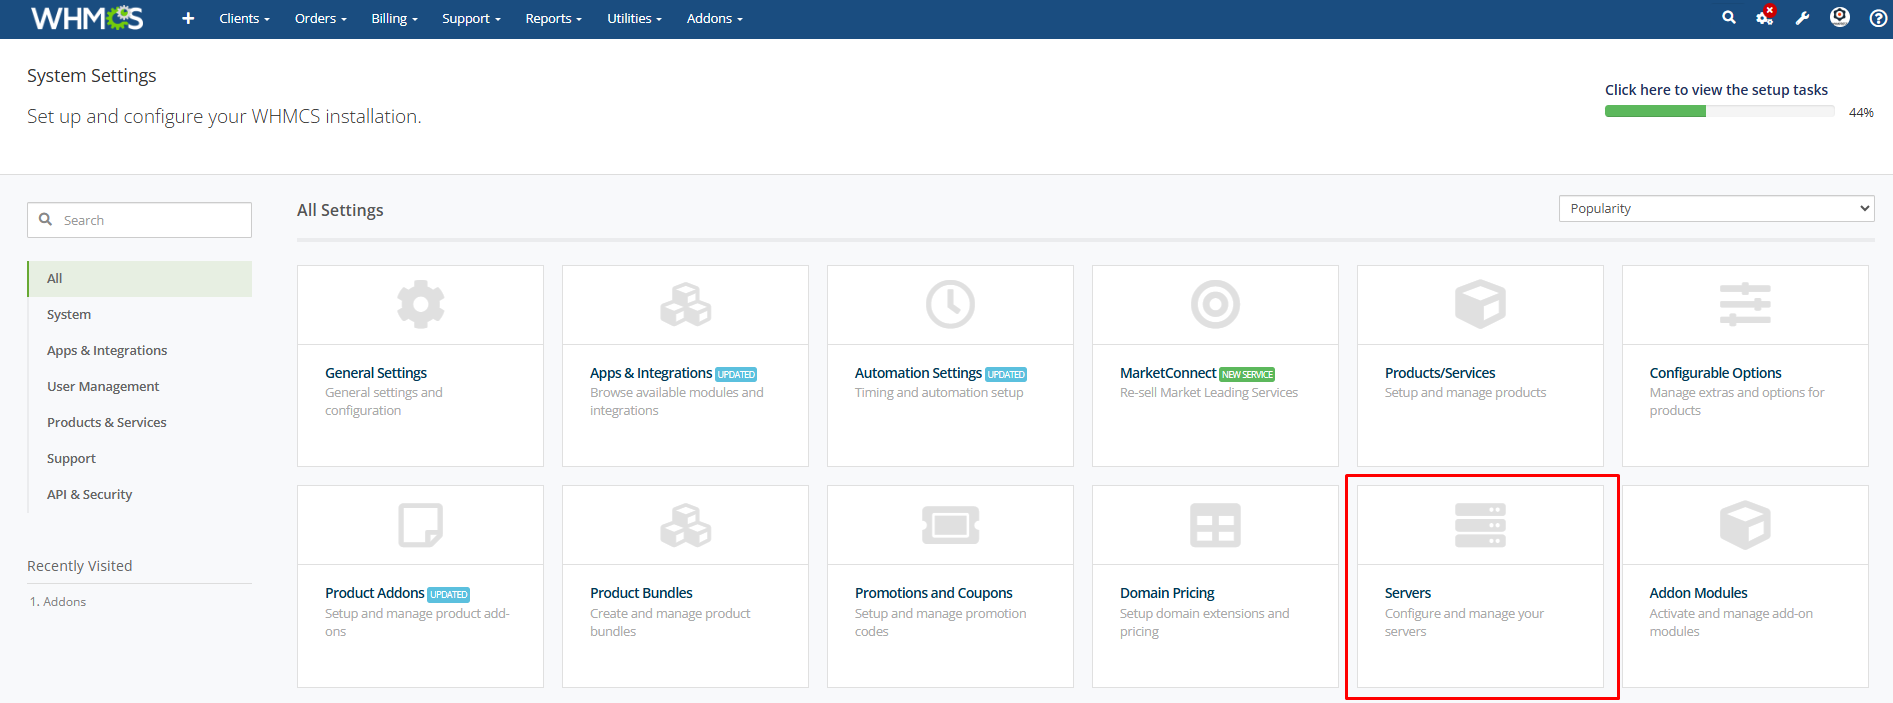
Add a New Server For MailCow Server.
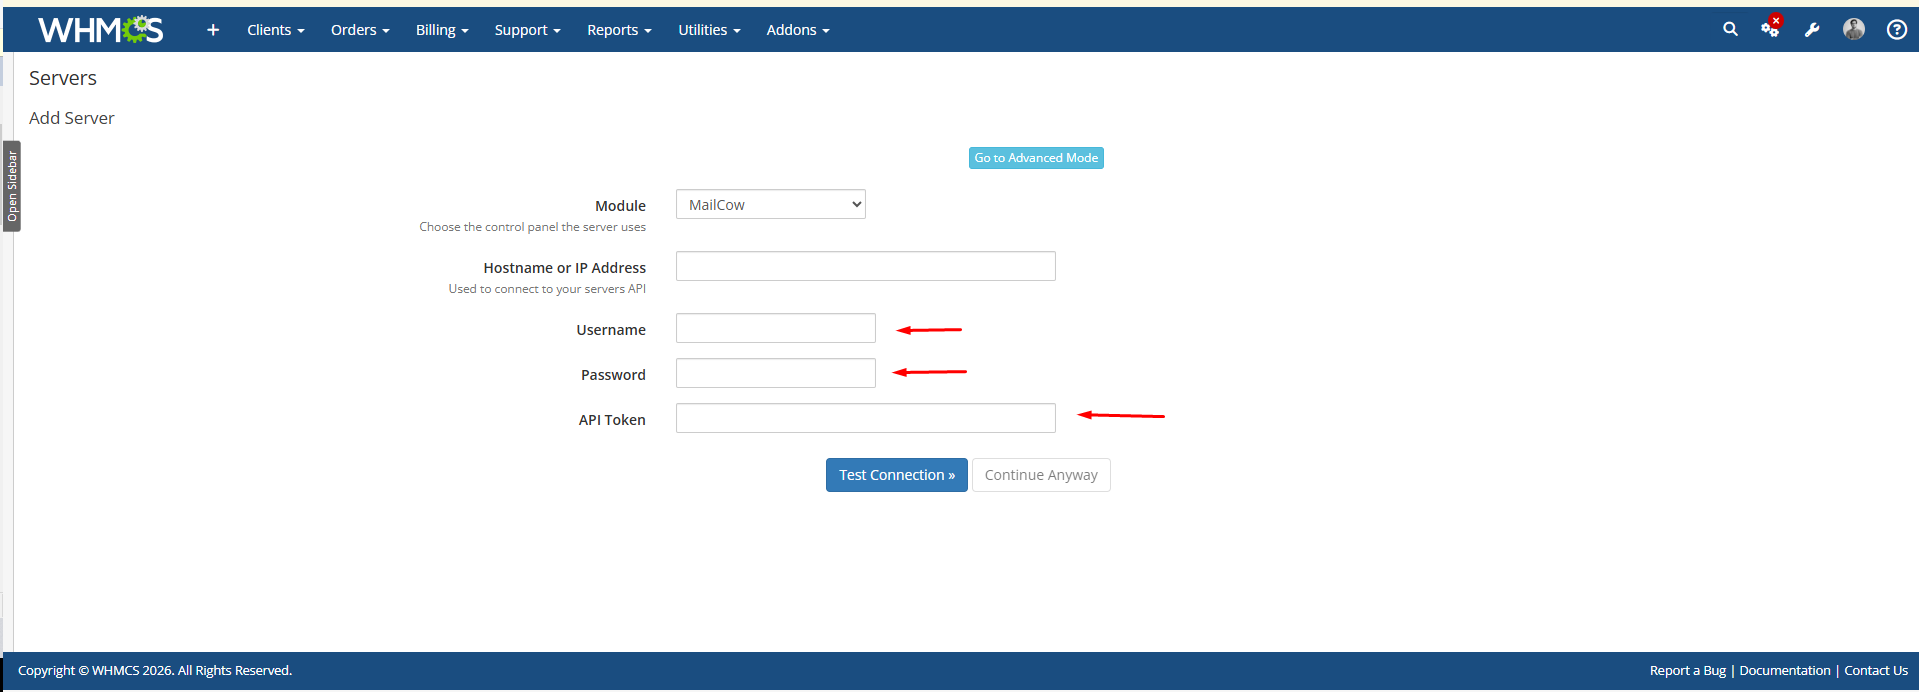
Select the Module MailCow Server, Enter the Username or Password, And Click Continue.
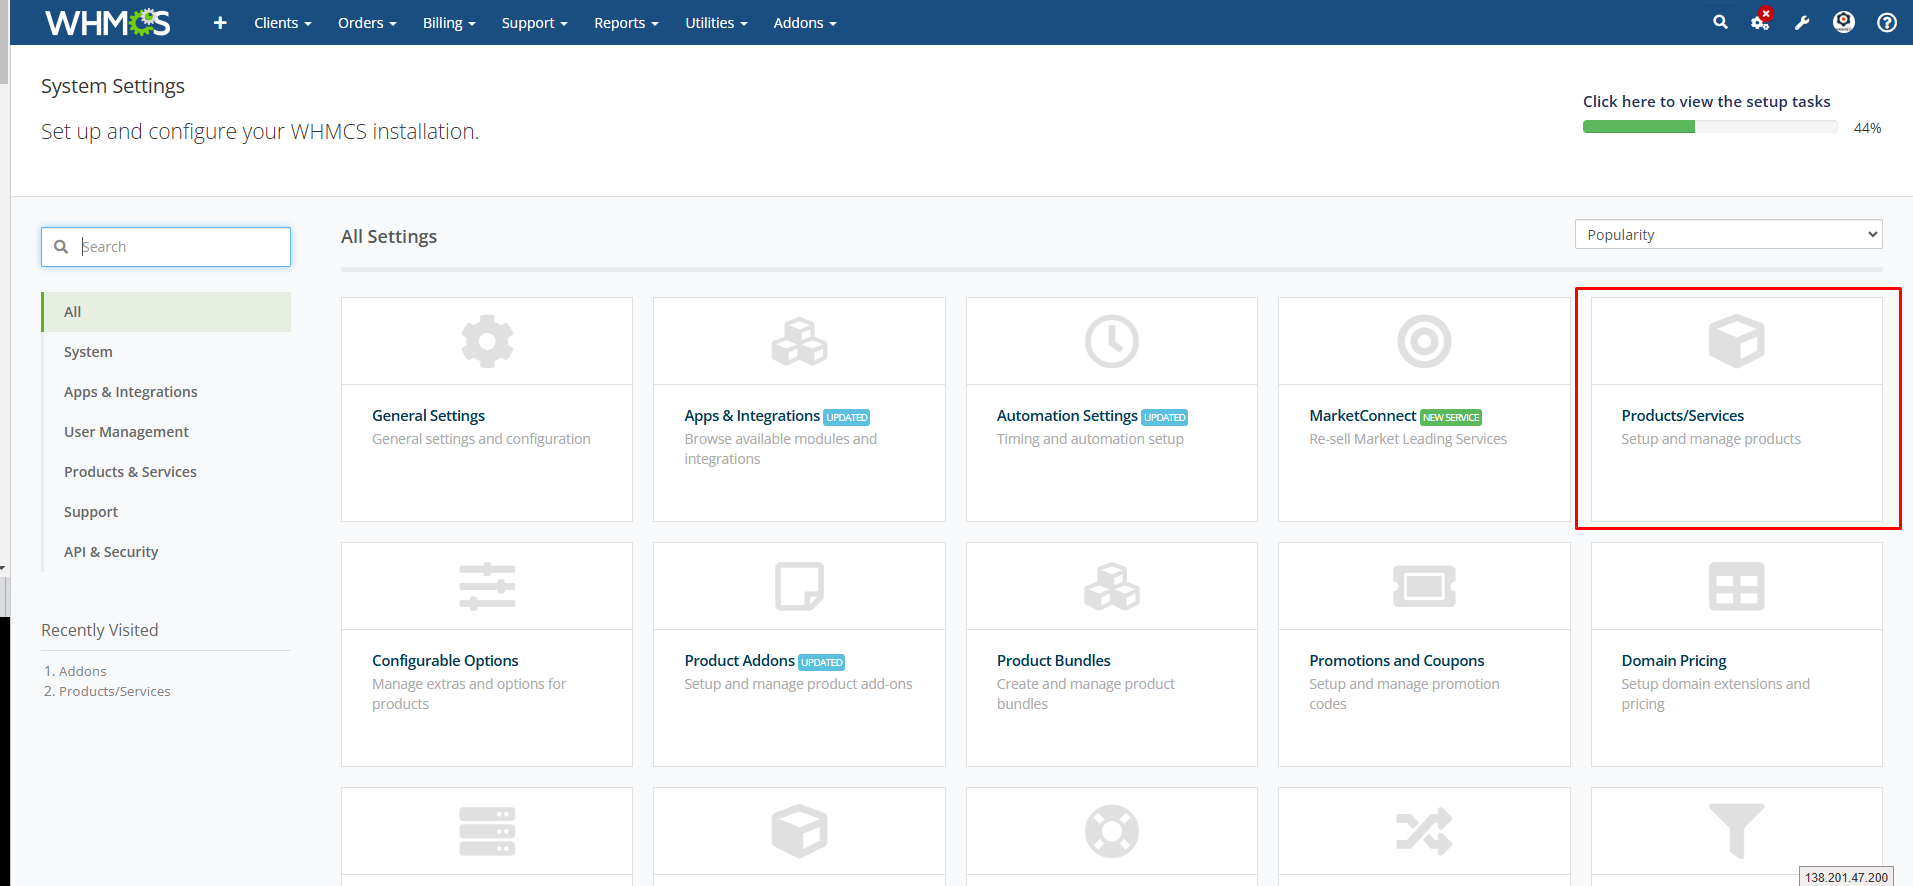
Now add the product for MailCow Server. Navigate to System Settings> Product and Services.
Select the Product type Server VPS. Enter your product name. Select the module MailCow Server.
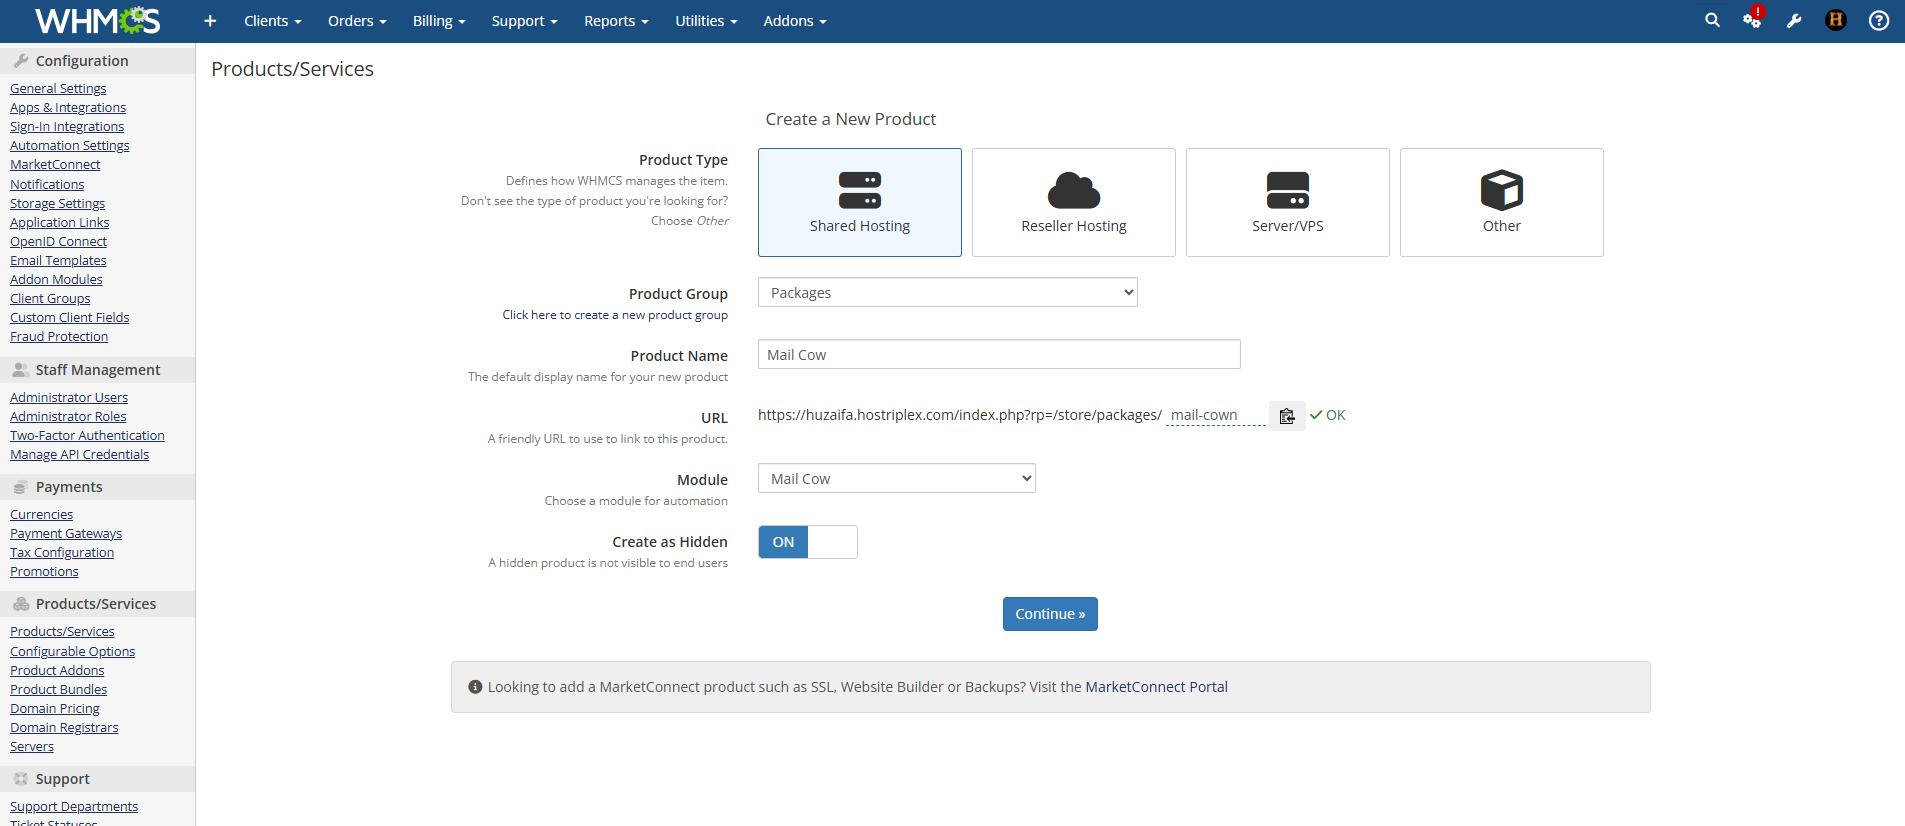
Now navigate to the module settings, and you have to select.
⦁ There are 2 options:
1) Limit Mailbox Quota
2) Number of Email Accounts (mailboxes)
You have to configure these options. And click save changes.
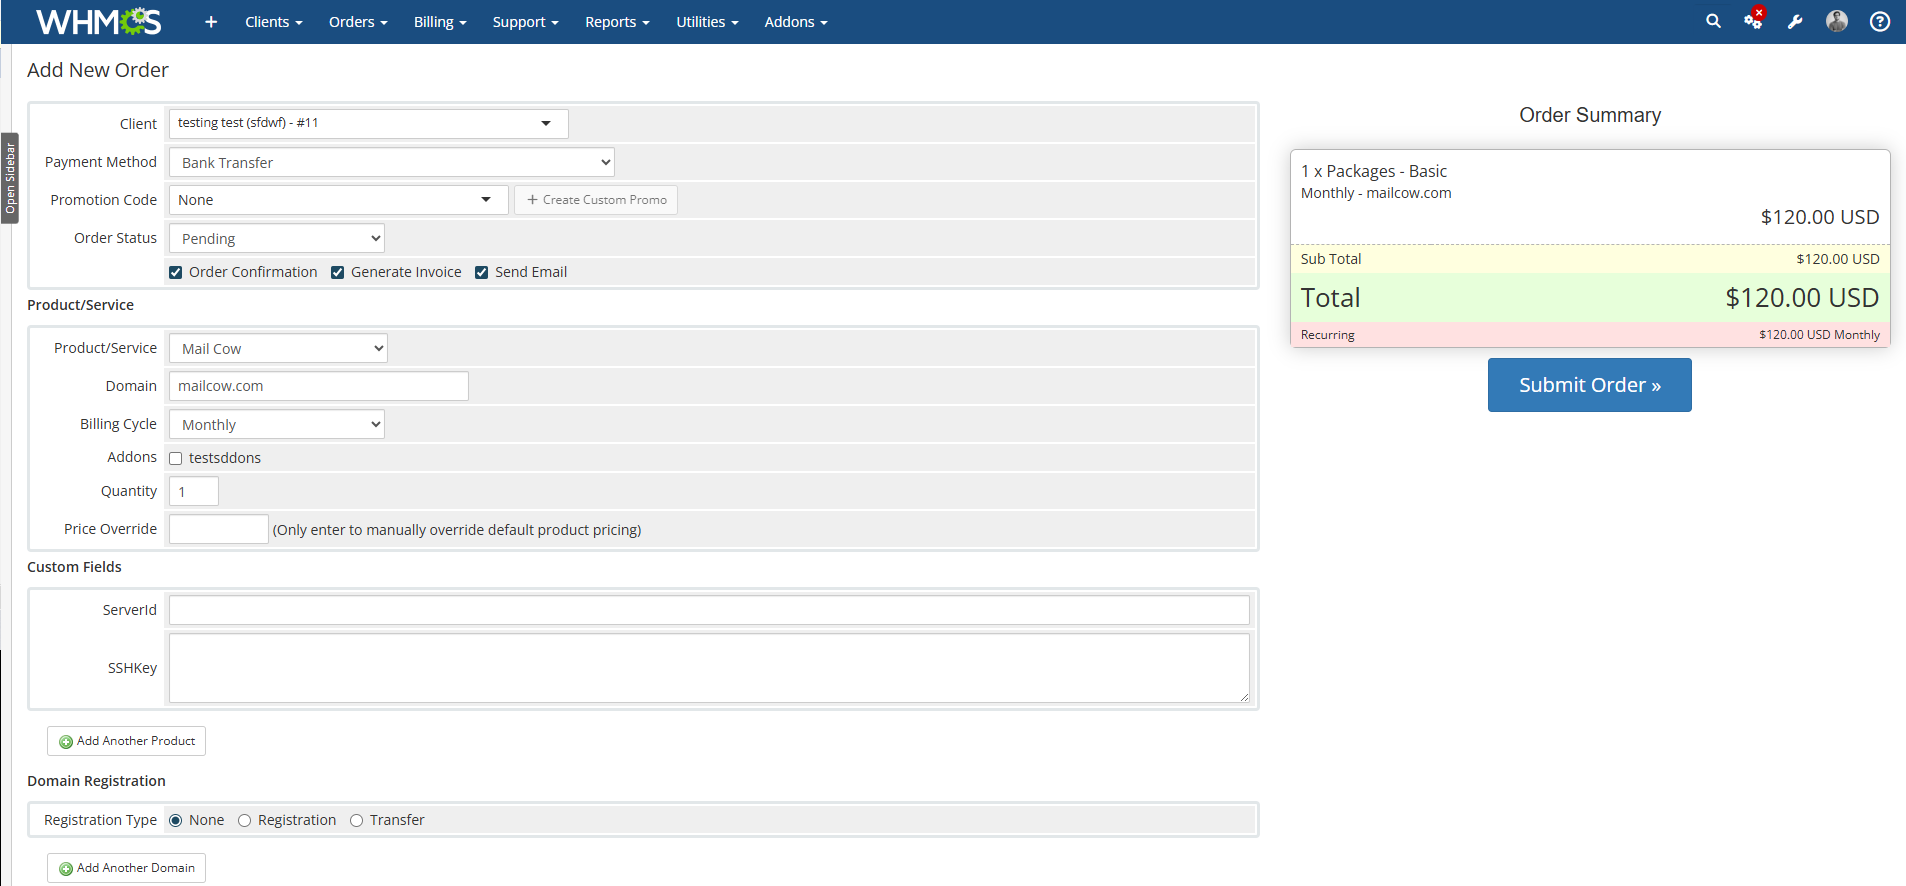
Now place an order for the product you have created for the MailCow Server and add your domain name.
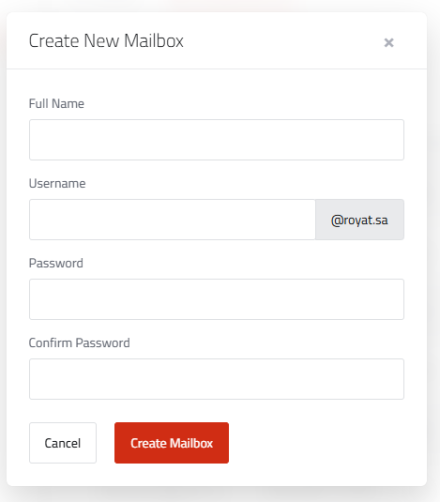
Once the order is placed in the client area, you can create the mailbox, and
You can change the password of the mailbox.
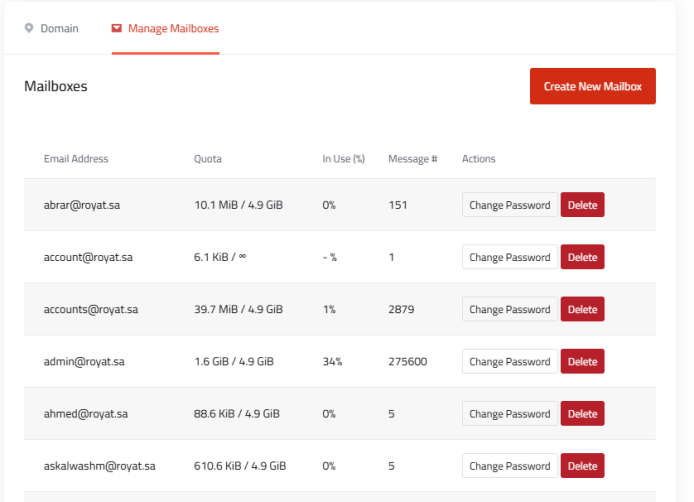
Now your Module is ready to use.
Conclusion:
Thank you for reviewing this document. If you have any questions or need further assistance, please feel free to reach out.
[ WHMPRESS.com ]
[ [email protected] ]