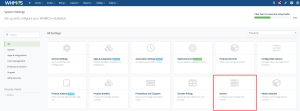
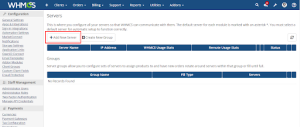
Navigate to Server:
Add a New Server For Hetzner Cloud Server.
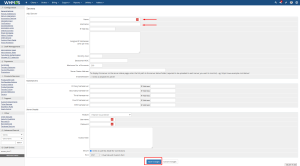
Select the Module Hetzner Cloud Server Enter the Username or Password And Click Continue.
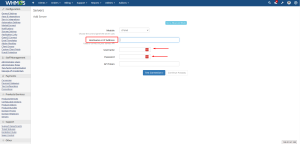
Add the WHMCS Administrator Username in the Username field.
Add your Hetzner API key in the password field.
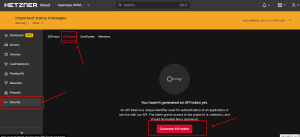
- How to get the API Token: To generate the API token Simply go to HETZNER DASHBOARD >Then go to Security and Click the API Token Then generate the API Token Click the Button.
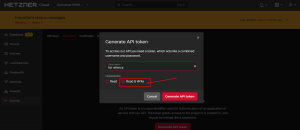
- After clicking the button a POPUP Appears Simply Copy the Description And Select the checkbox of READ AND WRITE.
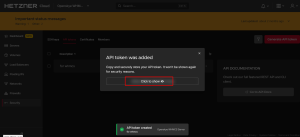
- Then again click the button of GENERATE API TOKEN and your API TOKEN Was Generated Successfully.
Enter any Name and Hostname of the module. And Click Save Changes.
Name: ( eg: Hetzner Cloud Server )
HostName: ( eg: hetzner.yourdomain.com )
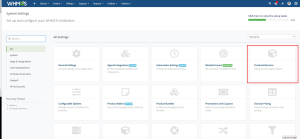
Now add the product for Hetzner Cloud Server. Navigate to system setting > Product and Services.
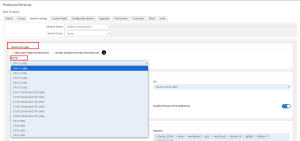
Select the Product type Server VPS Enter your product name Select the module Hetzner Cloud Server.
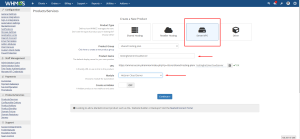
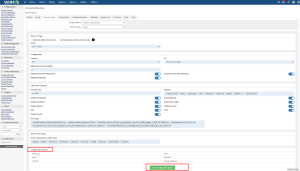
Now navigate to module setting and you can select the server type according to your product you want to sell (eg. x86 – Arm64).
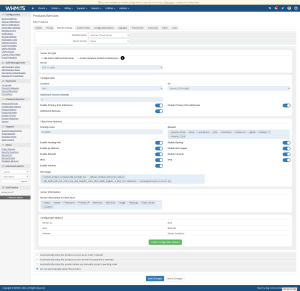
Server Configuration:
- X86 (amd or intel) select this option if you want to sell hetzner AMD or intel CPU based server
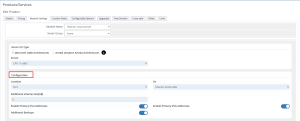
Configuration: From this the Admin can select the options to create the new Server.
- Location ( Select a location where you want to create the server )
- Os (select the OS which should be installed on the server )
- Enabled IPv4 Addresses ( Turn it on if you wish to enable the IP for the server )
- Enabled IPv6 Addresses (Turn it on if you wish to enable the IP for the server)
Note: One of these two IPs must be chosen. - Additional Backups (If you want to enable auto backups then enable this option)
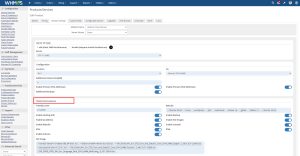
The admin can Select all the Client Area Features that they want to show to the client area.
Client Area Features:
- Friendly Color (You can enter the color that you want to display in the client area service section.)
- Rebuild (Enabled this the client can select the option of the rebuild)
- Enable Hosting Info (if enabled all info on the client-area is displayed )
- IPV4 (Turn it on if you wish to enable the IP for the server.)
- IPV6 (Turn it on if you wish to enable the IP for the server.)
- Enable Volume (You can add an extra volume feature on the client area)
- Enable ISO Images (The admin can select the images that they want to show the client)
- Enable Backup (if it is enabled clients have access to the backup area )
- Enable Console (If it is enabled, clients will be granted access to the console )
- ISO Image (If enabled, clients are able to mount or unmount provided ISO images to their virtual machine.)
Also The admin can Select the Server information which should the admin want to show to the client:
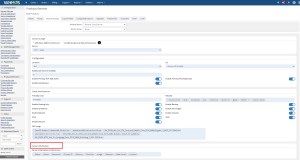
The admin can also select which server information they want to display to the client.
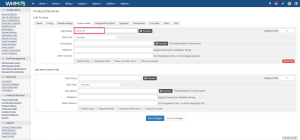
Now edit the product you create for Hetzner Cloud Server once you select the server, the custom field will be automatically created with this name. Serverid You just need to confirm whether it has been created or not..
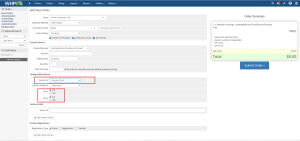
Now place an order of the product you have created For the Hetzner Cloud Server and add your domain name.
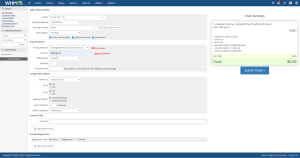
You can also select the Configurable option while placing the order.
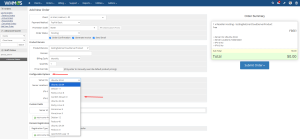
Also you can select the IP or server location while placing the order.
Then Place the order and please note that the IP must be selected while placing the order.
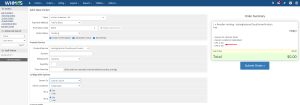
After placing the order then login to your client area and check all the features that you have selected from the module setting are displayed.
Now your server has been created successfully and your Module is ready to use.
Conclusion:
Thank you for reviewing this document. If you have any questions or need further assistance, please feel free to reach out.
[ WHMPRESS.com ]
[ [email protected] ]
